Do you want to be informed on new Posts on this Thread? (members only)
| Sail & Rigging - Renewing Swan 431 rods with dyform / wire? |
|---|
|
Join Date: 06 January 2012
Posts: 67 |
||
|---|---|---|
|
Renewing Swan 431 rods with dyform / wire? Hi You all Swan lovers! We've planned to renew the still remaining rods with wire or dyform this winter. They've been inspected and the heads renewed about ten years ago by the PO. Many have said that it'll be quite difficult have the rod ends hydraulically cold pressed here (in Finland). So, with wires then. What we have now is below (shroud, type, BS in kgf) and all are independent shrouds. V1: 12,7mm rod, 17.200kgf V2: 8,5mm rod, 8.000kgf D3: 8,5mm rod, 8.000kgf D2: 10mm 1x19 wire, 7.250kgf (renewed 2010) D1: 12mm 1x19 wire, 10.400kgf (renewed 2010) They all exceed the minimum breaking strenghts (described at the S&S sail plan) with a good margin.
Our plan: V1: 14mm dyform, 19.300kgf V2/D3: one lenght 10mm dyform, 9.700kgf. With this setup we're able to use all the existing spreader tip fittings, etc and the rigging stays at least as strong as it was. We just have to lock the upper spreader ends to the new V2/D3:s, but thats already solved. I also just happen to have a pair of new Selden 1" stud/toggle rigging screws already acquired. One size too big, but with the help of some hole reducersleeves they fit to the existing chainplates without any hassle. The total material price of this project (wires, end fittings, pins, but without the rigging screws) will propably be a bit over 2000,- euros according to two offers I've gotten from professionals from Finland and Holland, not bad! Questions: - why not to continue with this plan? Any weak spots? - what was the original idea of Nautor to use 12,7mm rod for the V1 as it is very strong compared to D2 and V2 which continue from the first spreader tip this V1 ends? - How do the loads spread from the V1 to and between the V2 and D2? - what is the correct tension for the D2:s and how to set it before the mast is raised again next spring? BTW I tested it with mast already lowered horizontal to the ground. I tensioned the main shrouds as tight as I could with some pulleys to measure the actual shroud lenghts. The D2:s just begun to tighten when the V1:s were already quite tight. Not a very scientific approach but the best at that time.
Soon (?) will we be sailing again!
IHe, S431-12, Finland
|
|
Join Date: 02 January 2008
Posts: 1547 |
||
|---|---|---|
|
Dear IHe A few comments about your proposal
If you have all required dimensions, new rods can be ordered from the Navtec outlet in France, but in Finland there is no Navtec heading machine any more.
Pls note that Dyform strands have quite sharp edges, and this may damage your sails.
If rod is replaced with wire, in addition to strength it is also good to look at stretch - the wire should be stretch equivalent with the rod.
It is important that end fitting pins and forks fit exactly, a bad fit will reduce their life length.
Norseman non-swaged terminals were used originally for the wire rigging, and although they are not available any more, the recommendation is to use similar non-swaged terminals for long rigging life.
How to pre-tension the shrouds is described in the ClassicSwan Manual section in the document named Rigging Setting Up.
Kind regards
Lars
|
|
Join Date: 06 January 2012
Posts: 67 |
||
|---|---|---|
|
Hi Lars, and thanks for You advice!
Sail chafe with dyform was something I did not think of before. Good point. Swageless fittings are still available (up to 16mm wire?) from Petersen and Sta-Lok, both from the UK. But as my plan is to go with a bit oversized Dyform shrouds I'll propably have the end fittings swaged.
|
|
Join Date: 06 January 2012
Posts: 67 |
||
|---|---|---|
|
A quick update on my small rigging project. It is done! - as already mentioned, the new V2/D3:s were ordered in one length --> new fittings were needed for the upper pair of spreaders to lock the spreader tip securely. PIC1. - stiff plastic outer sheath (kind of half cut plastic pipe from Hjertmans.se made for this purpose) was installed to the upper end of the V3 to prevent chafe to tightly sheeted genoas. PIC2. - those new 1 inch turnbuckles at the decklevel do not look too heavy - they are a oversized about one size. But easier to tighten then. PIC3. - every shroud was cut exactly to the correct length and the quality of work was excellent (A+ Rigging, Holland).
I'm very happy with the end results allthough the weather could have been better as It was snowing last weekend when stepping up the rigging. PIC4.
IHe, S431/12 "CAID" Finland 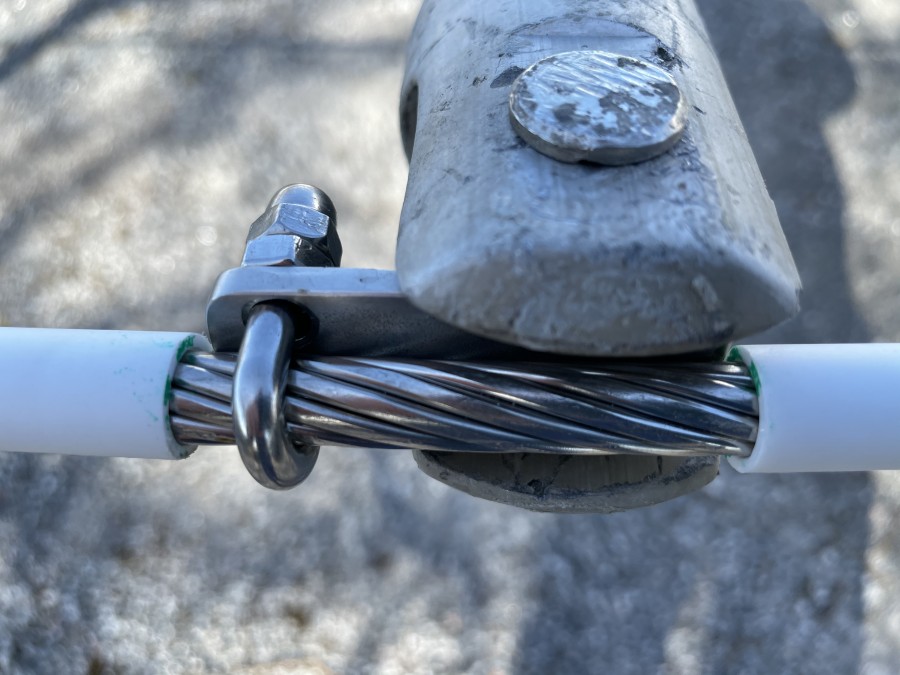 PIC1A. Upper spreader end, fitting was made from the old rod fork 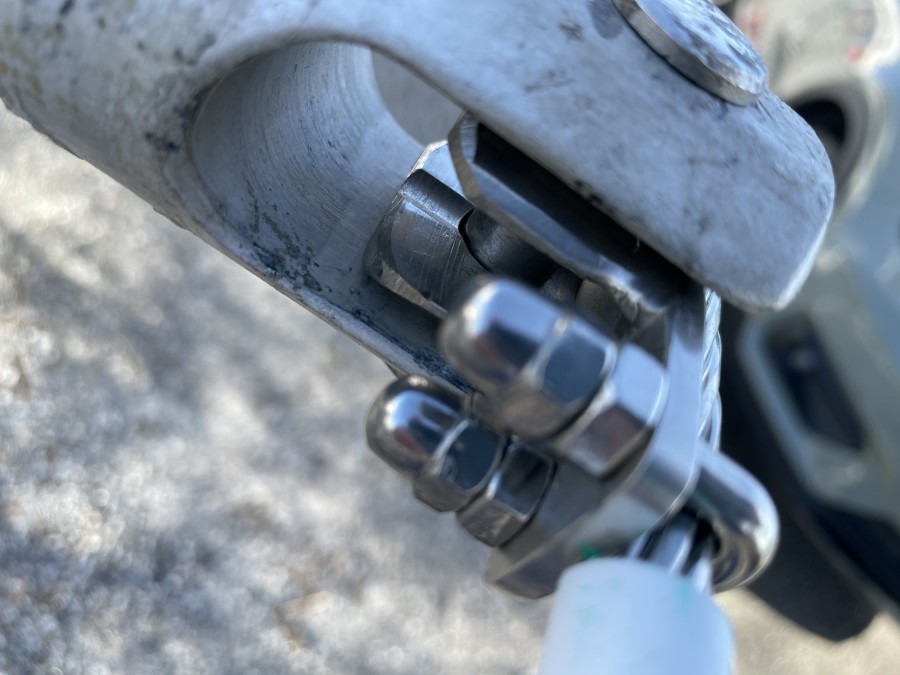 PIC1B. These spreader ends really need to be reconditioned... 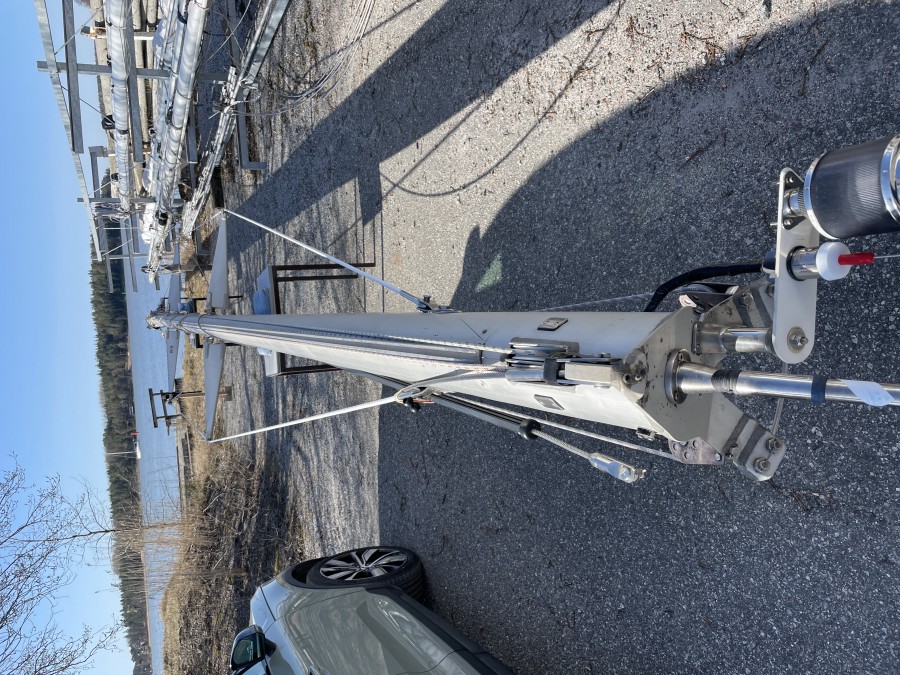 PIC2. |
|
Join Date: 06 January 2012
Posts: 67 |
||
|---|---|---|
|
More pics. 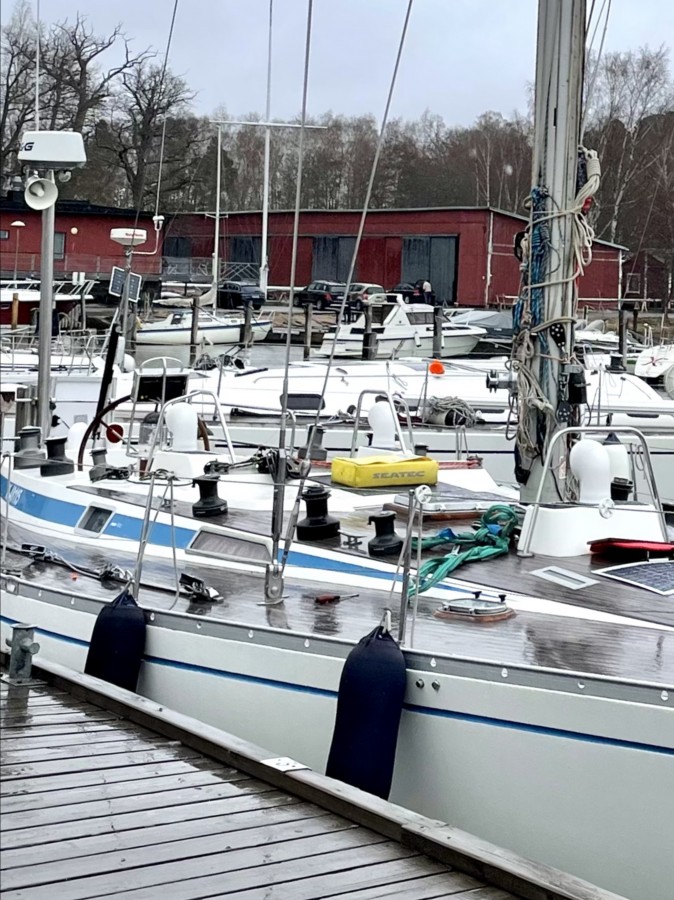 The new 1” rigging screws 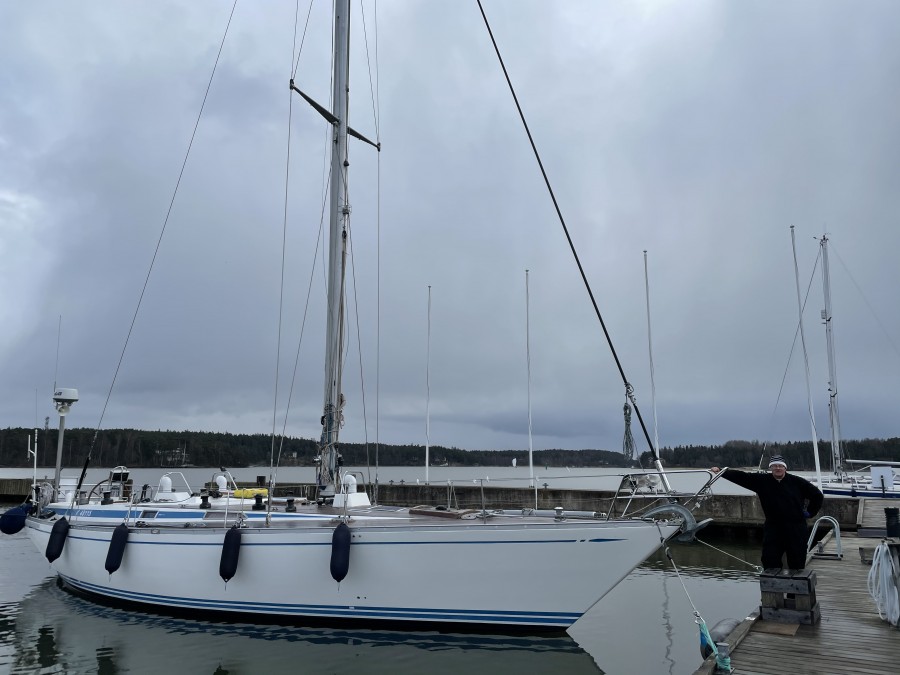 Freezing cold here, but happy. |
|
Join Date: 02 January 2008
Posts: 1547 |
||
|---|---|---|
|
Dear IHe In the photo of your masthead it looks like there is a bend in the headstay, probably the result of the genoa halyard winding around the stay. The bend reduces the life of the stay, and the recommendation is to straighten it.
Kind regards
Lars
|
|
Join Date: 06 January 2012
Posts: 67 |
||
|---|---|---|
|
Dear Lars, You are absolutely right. The headstay had a slight bend at the time the photo was taken, and it was carefully straightened before setting up the rig last weekend. No detail of a Swan is too small to go unnoticed by You! The bend formed when the headstay got stuck somehow under the heavy mast in a wrong position last autumn when we were lowering it to its winter cradle. It couldn't be moved so I detached it from the mast then so that it would not stay under tension for the whole winter. BTW for some reason we've never had genoa halyards winding around the stay with this boat. |
- Threads : 1702
- Posts : 10217
- Members: 820
- Online Members: 0